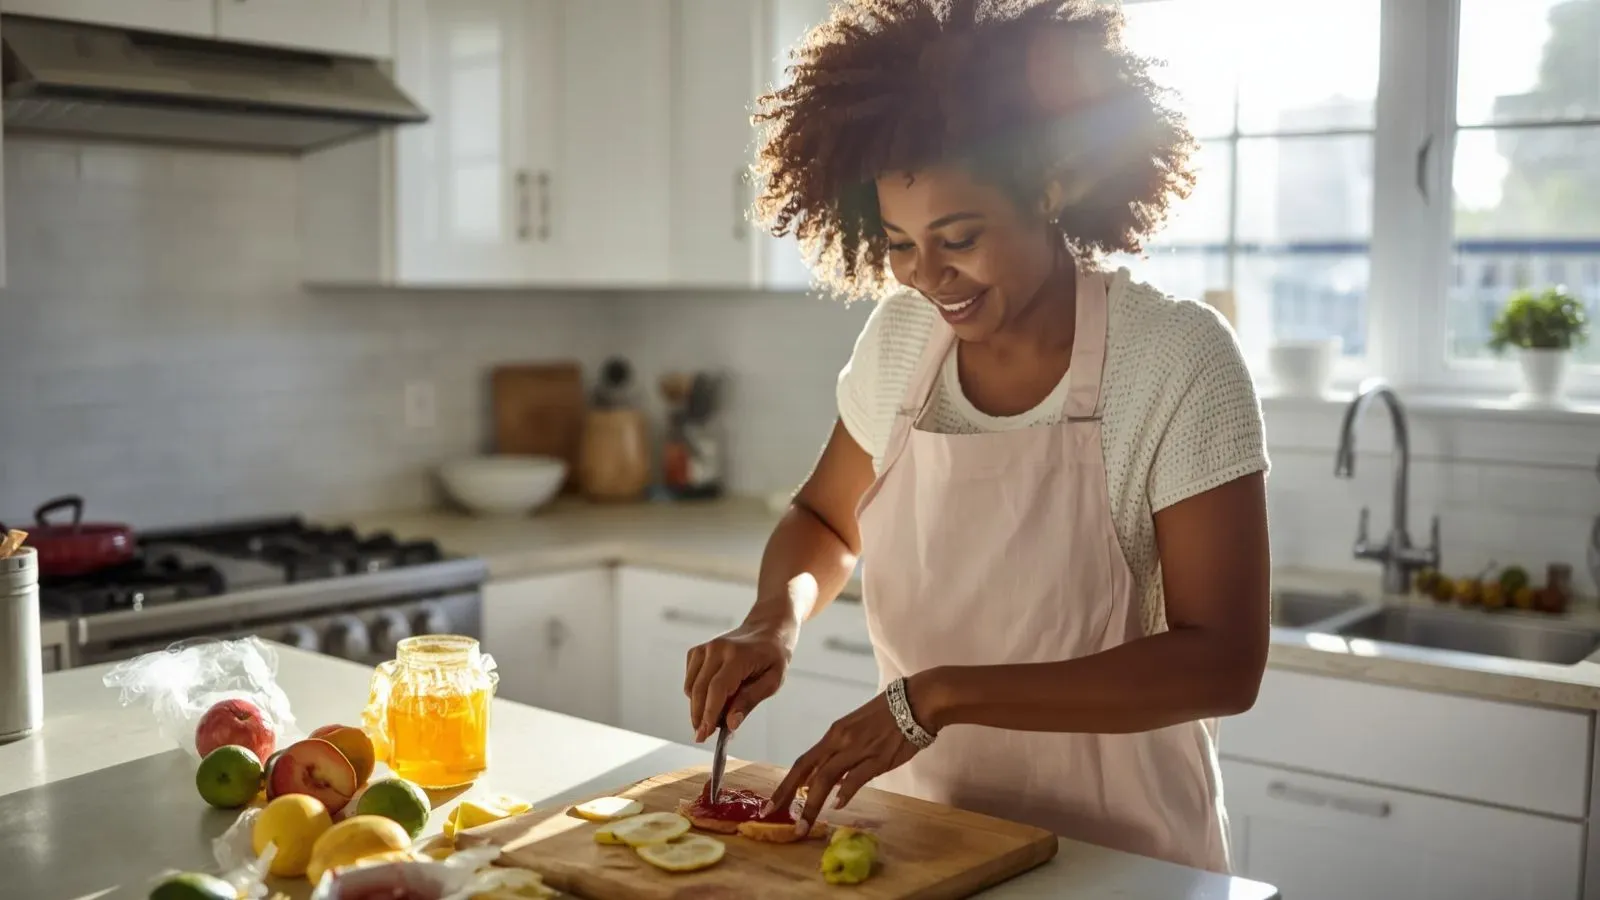
Learning how to make jelly is easier than it may seem. You only need fruit, sugar, and the right amount of pectin and acid. The goal is simple: turn fresh fruit juice into a smooth, clear spread that sets when it cools.
Homemade jelly is great on toast, biscuits, pancakes, muffins, and sandwiches. You can also use it in desserts, sauces, and simple breakfast recipes.
The best part is that you can make jelly with many kinds of fruit. Grapes, apples, berries, plums, and other fruits can all be used. Some fruits have enough natural pectin to set on their own, while others work better with added pectin.
This guide explains how to make jelly from start to finish. You will learn how to choose fruit, make the juice, use pectin, know when the jelly is ready, store it safely, and fix common problems.
What Is Jelly?
Jelly is a fruit spread made mainly from fruit juice and sugar. It has a smooth texture because the fruit solids, seeds, and most pulp are removed before the final cooking step.
That is one of the main differences between jelly and jam.
Jelly is usually clear or slightly cloudy and has a firm, soft set. Jam is thicker and contains crushed or mashed fruit. Preserves often contain larger pieces of fruit.
The basic jelly-making process looks like this:
Fruit → juice → strain → add sugar and pectin → boil → test → cool → store
Once you understand these steps, making different kinds of jelly becomes much easier.
Jelly vs. Jam: What Is the Difference?
The words jelly and jam are often used together, but they are not the same.
Jelly is made from strained fruit juice. It does not contain the larger pieces of fruit found in jam.
Jam is made from crushed or mashed fruit. The fruit pulp stays in the finished spread.
Preserves usually contain pieces or chunks of fruit.
For example, grape jelly is made from grape juice that has been strained. Grape jam may contain crushed grapes and more fruit pulp.
If you want a smooth, shiny spread with no seeds or fruit pieces, jelly is the better choice.
What You Need to Make Jelly
Before you start, gather everything you need. Jelly cooks quickly once it reaches a boil, so it helps to have your tools ready.
Basic Ingredients
You will usually need:
- Fresh fruit or prepared fruit juice
- Sugar
- Pectin, if needed
- Lemon juice or another acid, if required by the recipe
- Water, depending on the fruit
The exact amount of each ingredient depends on the fruit and the jelly recipe you are using. Do not guess when using commercial pectin. Different pectin products can have different instructions.
Basic Equipment
You may also need:
- Large deep pot
- Wooden spoon or heat-safe spoon
- Fine strainer
- Jelly bag or several layers of cheesecloth
- Large bowl
- Measuring cups
- Measuring spoons
- Clean jars
- Jar funnel, if available
- Candy or jelly thermometer, if you want a temperature check
- Ladle
A large pot is important because fruit mixtures can rise quickly when they reach a strong boil.
Choose the Right Fruit
Good jelly starts with good fruit.
Use fruit that is fresh, clean, and free from mold or spoilage. For jelly without added pectin, the ripeness of the fruit matters because natural pectin levels change as fruit ripens.
Some fruits are naturally higher in pectin than others. Apples and crabapples are well-known examples. Apples can be used to make jelly without commercial pectin when the fruit and method are suitable.
Do not assume every fruit will set the same way.
Very ripe fruit may have less natural pectin than partly underripe fruit. For some traditional no-pectin jelly recipes, a mix of ripe and slightly underripe fruit can help.
Wash the Fruit First
Wash your fruit under cool running water.
Do not leave fresh fruit sitting in water for a long time. Extension guidance recommends washing fruit in running water or several changes of clean water rather than soaking it.
Remove:
- Stems
- Leaves
- Damaged parts
- Dirt
- Fruit that shows spoilage
The way you prepare the fruit depends on what you are using.
Small berries may need crushing. Apples may need cutting into pieces. Grapes can usually be cooked whole.
Step 1: Cook the Fruit to Release the Juice
Place the prepared fruit in a large pot.
For firm fruits, a little water may be needed to help soften the fruit and release its juice. Juicy berries may need very little added water.
Cook the fruit until it becomes soft and releases plenty of juice.
For apples, for example, tested recipes commonly cook cut apples with water until they are soft before straining the juice.
Do not rush this part.
The goal is not to make fruit sauce. You want to release the juice while keeping as much flavor as possible.
Stir from time to time so the fruit does not stick to the bottom of the pot.
Step 2: Strain the Fruit
Now comes one of the most important steps.
Pour the cooked fruit into a damp jelly bag, fine strainer, or several layers of damp cheesecloth placed over a bowl.
Let the juice drip out naturally.
If you want very clear jelly, do not squeeze the bag.
Squeezing can push tiny pieces of pulp through the cloth. This can make the jelly cloudy. The jelly is still edible, but it may not have that clear, bright look many people want.
This step may take time.
Be patient. Clear jelly is often worth the wait.
Once the juice has drained, measure it carefully.
The amount of juice is important because your sugar and pectin amounts depend on the recipe and the amount of juice.
Step 3: Decide Whether You Need Pectin
Pectin is a natural substance found in many fruits. It helps fruit juice form a gel when combined with the right balance of sugar and acid and cooked correctly.
Some fruits contain enough natural pectin to make jelly without added pectin.
Other fruits may need commercial pectin for a good set.
You can find pectin in different forms, such as:
- Powdered pectin
- Liquid pectin
- Special low-sugar pectin
- Other products made for specific jelly or jam methods
These products are not always interchangeable.
Always follow the directions on the pectin package when the recipe calls for it.
Do not simply add extra pectin because you want a firmer jelly. Too much pectin can make jelly too stiff.
Step 4: Add Sugar
Sugar does more than make jelly sweet.
It also plays an important role in the setting process.
The correct amount depends on the fruit, juice, pectin, and recipe.
For this reason, do not use the same sugar amount for every type of jelly.
For example, a tested apple jelly recipe without added pectin uses a specific amount of sugar for a measured amount of apple juice.
If you are using commercial pectin, follow the recipe that comes with that pectin.
Measure carefully.
Too little sugar can affect the final texture. Too much can also cause problems.
Step 5: Add Acid When Needed
Acid can also be important when making jelly.
Lemon juice is often used in certain jelly recipes. It can help provide the acidity needed for proper setting and can brighten the fruit flavor.
But do not add a random amount of lemon juice to every jelly recipe.
The right amount depends on the fruit and recipe.
Some fruits already have enough acid. Others need more.
This is another reason a tested recipe is useful.
Step 6: Bring the Jelly to a Full Boil
Place the prepared juice mixture in a large, deep pot.
Heat it as directed by your recipe.
If you are using commercial pectin, follow its instructions carefully.
The mixture needs to reach a strong, full boil. A full rolling boil continues to bubble even when you stir it. Extension guidance notes that when pectin is added, timing begins after the mixture reaches this type of boil.
Watch the pot closely.
Jelly can foam and rise very fast.
Do not walk away while it is boiling.
Step 7: Know When the Jelly Is Done
This is the part that can make beginners nervous.
You do not want to stop cooking too early.
But you also do not want to cook the jelly for too long.
There are several ways to check the setting point.
Use a Thermometer
For many traditional jelly recipes made without added pectin, the jelly point is around 220°F at sea level.
The exact temperature can change with altitude because water boils at a lower temperature at higher elevations.
A thermometer can make this easier, but it is not the only way to test jelly.
Use the Spoon or Sheeting Test
Dip a cool metal spoon into the hot jelly.
Lift it above the pot.
Watch how the jelly falls from the spoon.
When it is ready, the liquid becomes thicker and may come off the spoon in a sheet rather than in thin drops. This is known as the sheeting test.
This method takes a little practice.
If you are new to jelly making, using a thermometer along with the recipe instructions can make the process easier.
Step 8: Remove Foam
Foam may form on the surface while the jelly cooks.
You can skim it off with a clean spoon.
Removing foam can give the finished jelly a cleaner appearance.
Do this near the end of cooking and work quickly.
Step 9: Put the Hot Jelly Into Jars
If you are making jelly for short-term refrigerator use, clean containers with tight lids can be used according to your recipe.
If you want shelf-stable canned jelly, the process is different.
You need properly prepared canning jars, correct headspace, and a tested water-bath canning process for the specific recipe.
For example, National Center for Home Food Preservation recipes give specific jar preparation, headspace, and processing directions for tested jelly recipes.
Do not guess at canning times.
Do not treat a simple refrigerator jelly recipe as a shelf-stable canning recipe.
That difference matters for food safety.
Step 10: Let the Jelly Cool
Once the jelly is in its containers, let it cool as directed by your recipe.
Do not expect the jelly to become completely firm while it is still hot.
Jelly continues to set as it cools.
Some jellies may need additional time before you know the final texture.
If your jelly seems soft right after cooking, give it time before deciding that it failed.
How to Make Jelly Without Pectin
You can make some types of jelly without adding commercial pectin.
The key is choosing fruit that has enough natural pectin and following a tested recipe.
Apples and crabapples are good examples of fruits used for no-pectin jelly. Traditional apple jelly recipes use a mix of suitable apples, extract the juice, and cook the juice with sugar until the jelly reaches the proper setting point.
Without added pectin, the cooking process may take longer.
The fruit juice must reach the right concentration and setting point.
This method can be rewarding, but it requires more attention.
If you are making jelly for the first time, commercial pectin can make the process more predictable.
How to Make Grape Jelly
Grape jelly is one of the easiest homemade jelly ideas.
You can start with fresh grapes and extract the juice, or use prepared unsweetened grape juice if your recipe is designed for it.
For fresh grapes:
- Wash the grapes.
- Remove damaged fruit.
- Cook the grapes until soft and juicy.
- Strain the juice.
- Measure the juice.
- Add sugar and pectin according to a tested recipe.
- Bring the mixture to the required boil.
- Test for the proper set.
- Pour into prepared containers.
- Cool and store safely.
Do not simply copy the same sugar or pectin amount from an apple jelly recipe.
Different fruits can have different pectin and acid levels.
How to Make Apple Jelly
Apple jelly is another classic choice.
Apples contain natural pectin, which means some apple jelly recipes do not need commercial pectin.
A tested apple jelly method uses apples that include some slightly underripe fruit, cooks them until soft, strains the juice, and then cooks the measured juice with sugar until it reaches the jelly point.
You do not need to peel the apples for that type of traditional recipe.
The peel and core can contain useful pectin.
Always follow the recipe you choose because apple varieties and juice amounts can change the result.
How to Make Berry Jelly
Berry jelly can be made from many fruits, including:
- Blackberries
- Raspberries
- Strawberries
- Cranberries
- Currants
The main challenge is removing seeds and pulp.
Cook the berries as directed by your recipe, then strain the juice through a jelly bag or fine cloth.
Do not squeeze the bag if clear jelly is your goal.
Berry jelly may also need added pectin, depending on the fruit and recipe. Some berries have less natural pectin than fruits such as apples, so the recipe needs to account for that.
Can You Make Jelly From Store-Bought Juice?
Yes, some jelly recipes can use prepared juice.
This can be a simple option when you want homemade jelly without starting with fresh fruit.
Choose juice that matches your recipe.
Unsweetened juice is often easier to work with because you can control the amount of sugar yourself.
Commercially canned or frozen unsweetened fruits and juices can also be used in certain jelly methods, but some products may need added pectin.
Always check the recipe before starting.
Do not assume any bottled juice will work exactly like fresh fruit juice.
Why Did My Jelly Not Set?
A runny jelly is one of the most common problems.
There can be several reasons.
Not Enough Pectin
If the fruit does not have enough natural pectin and no commercial pectin was added, the jelly may stay soft.
Wrong Sugar Amount
Sugar affects the setting process.
Changing the sugar amount in a tested recipe can change the final texture.
Not Enough Acid
Some fruits need the right level of acid to help the jelly set.
Not Cooked Enough
If the jelly does not reach the proper setting point, it may remain runny.
Too Much Liquid
Adding too much water can change the balance of the recipe.
The Fruit Was Too Ripe
Very ripe fruit may contain less natural pectin than less ripe fruit. This can matter when making jelly without added pectin.
How to Fix Runny Jelly
Do not throw away a batch just because it looks soft.
First, let it cool fully.
Some jelly needs time to set.
If it is still runny, you may be able to remake it.
The safest approach is to use a tested reprocessing method that matches your type of jelly and pectin. Extension guidance provides different remake methods for jelly made with and without added pectin.
Avoid adding random amounts of sugar or pectin.
That can make the problem worse.
Why Is My Jelly Too Hard?
Jelly can also become too firm.
This may happen if:
- Too much pectin was used
- The jelly was cooked too long
- The fruit had unusual pectin levels
- The recipe balance was changed
Too much pectin can create an overly stiff texture.
The best way to avoid this is to measure carefully and follow the recipe.
Why Is My Jelly Cloudy?
Cloudy jelly is often caused by tiny pieces of pulp or fruit solids getting into the juice.
One common cause is squeezing the jelly bag.
If clear jelly matters to you, let the juice drip naturally.
A cloudy jelly is usually more of a quality issue than a reason to throw it away, provided the ingredients and preparation were safe.
You can still enjoy it on toast or use it in other foods.
Why Does Jelly Have Foam?
Foam can form as the fruit mixture boils.
This is normal.
You can skim the foam from the top before filling your containers.
Skimming helps the jelly look cleaner.
Why Did My Jelly Turn Dark?
Jelly can darken when it is cooked too long or exposed to heat for too long.
Longer cooking can also affect flavor.
This is one reason it is better to use the correct amount of juice and make a manageable batch rather than simply boiling the mixture for a very long time.
Can You Double a Jelly Recipe?
It is tempting to double everything when you want more jelly.
But that is not always a good idea.
Extension guidance recommends making one batch at a time because increasing the quantity can change cooking time and may lead to problems with texture, flavor, and setting.
If you need more jelly, make another batch instead.
It takes more time, but it can give you more predictable results.
How to Store Homemade Jelly
How you store jelly depends on how it was prepared.
For refrigerator jelly, keep it in a clean, covered container in the refrigerator.
A tested canning recipe may allow properly processed jars to be stored at room temperature.
Always follow the storage instructions for the exact recipe you used.
For the best flavor, homemade jelly should not be kept forever. Extension guidance notes that jellied fruit products can lose flavor during storage.
Label your jars with the type of jelly and the date you made it.
This small step makes it much easier to keep track of your homemade food.
How Long Does Homemade Jelly Last?
There is no single storage time that applies to every jelly.
It depends on:
- The recipe
- Whether it was canned
- Whether it was refrigerated
- The container
- How it was prepared
- Storage conditions
For refrigerator jelly, follow the recipe’s refrigerator storage instructions.
For canned jelly, use a tested canning recipe and follow its processing and storage guidance.
If you see mold, unusual growth, a strange smell, or other signs of spoilage, do not taste the jelly.
Tips for Better Homemade Jelly
A few simple habits can make jelly making much easier.
Measure Everything
Do not guess with sugar, juice, pectin, or lemon juice.
Small changes can affect the final set.
Use a Large Pot
Jelly can rise quickly while boiling.
A deep pot gives the mixture more room.
Do Not Walk Away
Boiling jelly needs attention.
Stay nearby and stir as directed.
Do Not Squeeze the Jelly Bag
If you want clear jelly, let the juice drip naturally.
Make Small Batches
Small batches are easier to control.
They also reduce the chance of uneven cooking.
Follow Your Pectin Instructions
Different pectin products can have different directions.
Use the instructions for the exact product you have.
Do Not Judge Hot Jelly Too Soon
Hot jelly is much thinner than cooled jelly.
Give it time to set before deciding whether the texture is right.
Easy Jelly Flavor Ideas
Once you understand the basic process, you can try many flavors.
Popular choices include:
- Grape jelly
- Apple jelly
- Blackberry jelly
- Raspberry jelly
- Strawberry jelly
- Cranberry jelly
- Plum jelly
- Mint jelly
- Crabapple jelly
- Mixed fruit jelly
You can also explore fruit combinations.
Apple can pair well with other fruits because of its natural pectin. Some traditional recipes also combine juices from different fruits to create mixed jellies.
If you are creating your own combination, it is better to use a tested recipe designed for that fruit mix rather than guessing the pectin and sugar amounts.
Ways to Use Homemade Jelly
Homemade jelly is not only for toast.
Try it with:
- Peanut butter sandwiches
- Biscuits
- English muffins
- Pancakes
- Waffles
- Oatmeal
- Yogurt
- Cheesecake
- Thumbprint cookies
- Breakfast pastries
- Cheese boards
- Glazes
- Simple dessert sauces
A spoonful of fruit jelly can also add sweetness and fruit flavor to a simple breakfast.
A Simple Jelly-Making Checklist
Before you start, make sure you have:
- Fresh fruit or suitable juice
- A tested recipe
- Sugar
- Pectin if required
- Lemon juice or acid if required
- A large pot
- Straining equipment
- Clean containers
- A thermometer if your recipe uses one
- Enough time to let the jelly drain and cool
During cooking:
- Watch the pot
- Measure carefully
- Follow the recipe
- Reach the correct boiling point
- Test the set
- Skim foam
- Fill containers as directed
After cooking:
- Let the jelly cool
- Label the containers
- Store them correctly
- Do not taste food that shows signs of spoilage
FAQs
Jelly Powder
Jelly powder is a flavored mix used to make jelly. It usually contains gelatin or another setting agent, sugar, and flavoring.
How to make jelly with water
Mix jelly powder with hot water until fully dissolved, then add cold water if the package directions call for it. Chill until set.
How to make jelly from berries
Cook fresh berries with sugar and water, then strain the juice and add pectin or another setting agent. Let it cool and set.
How to make jelly from scratch
To make jelly from scratch, prepare fruit juice, add sugar and pectin, then boil the mixture until it reaches the proper setting point.
How to make jelly easy
The easiest way is to use jelly powder. Dissolve it in hot water, add the required cold water, and refrigerate until firm.
How to make jelly with gelatin
Dissolve gelatin in warm liquid, then mix in fruit juice or another flavored liquid. Pour into a mold and refrigerate until set.
How to make jelly powder
Jelly powder can be made by combining gelatin or a plant-based setting agent with sugar, flavoring, and food coloring. Store it in a dry, airtight container.
How to make jelly at home without gelatin
You can make jelly without gelatin by using pectin or agar-agar. Fruit juice, sugar, and the setting agent are heated together and then chilled until firm.
Final Thoughts
Once you understand how to make jelly, the process becomes much less intimidating.
Start with good fruit. Extract the juice carefully. Measure your ingredients. Use the right amount of pectin and acid when needed, and pay close attention while the jelly boils.
The biggest secret is not to rush.
Let the juice drain naturally if you want clear jelly. Use a tested recipe instead of guessing ingredient amounts. Do not double the batch unless the recipe specifically allows it. And if you plan to store jelly at room temperature, follow a tested canning method rather than treating it like ordinary refrigerator jelly.

I’m Nicholas Sparks, and storytelling has always been my passion. Through TheBiblimeaning, I share insights about my books, unforgettable characters, romance, emotions, and the deeper meanings behind my stories. This platform brings readers closer to my writing journey, latest releases, and the inspiration that shapes every novel I create.